It’s week four of the One Room Challenge, and boy does time fly when you’re having fun! I’ve been busy over the past few weeks transforming our side yard from turf into a lush garden. If you missed the post from week one of the challenge, you can read more about the plan here. While I definitely have a ways to go, I’m excited to share some big updates this week.
Preparing the Space
In order to prepare the space for the garden bed, pathways, and raised bed, I first cleared out grass and weeds from the area. I used a spade to dig up anything green, and then I piled the dug-up material next to the house to use as fill for the bed later.
After digging up the grass, I cut up some cardboard boxes saved from previous package deliveries, removed any tracking labels or tape, and then laid out the cardboard over the cleared area. I used old bricks and fence posts as weights to keep the cardboard in place for two weeks.
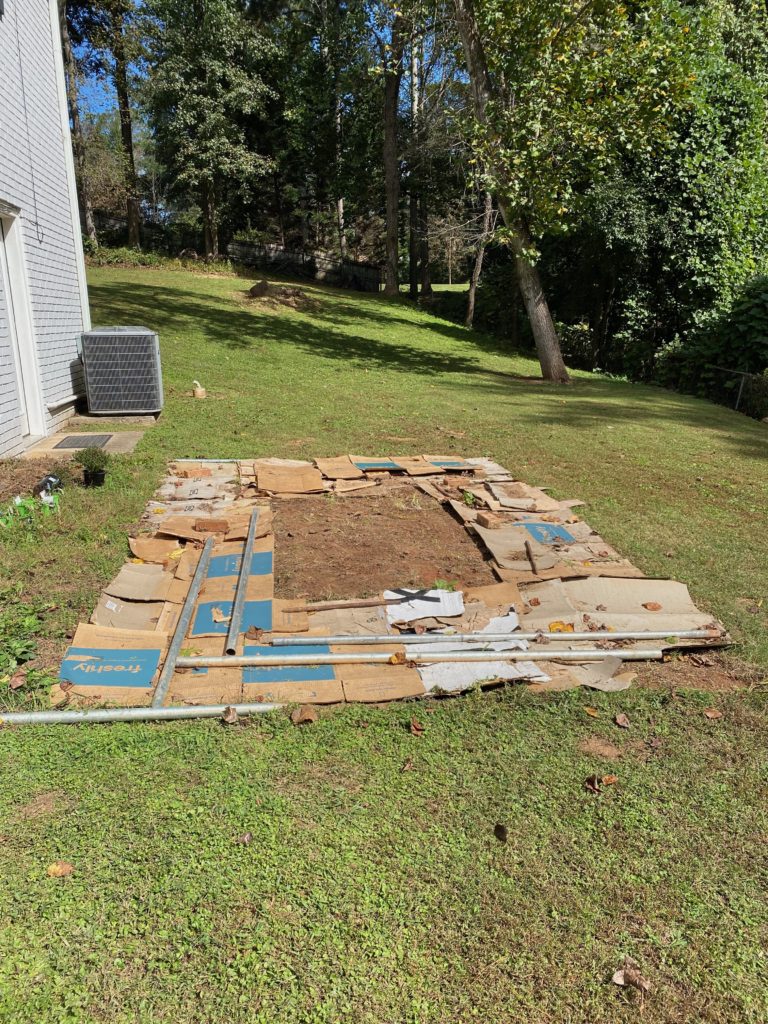
After the two weeks, the area underneath the cardboard was clear of any new growth, and I was ready to add the raised bed.
Building the Raised Bed
After watching lots of YouTube videos, I landed on this tutorial from Gardener Scott:
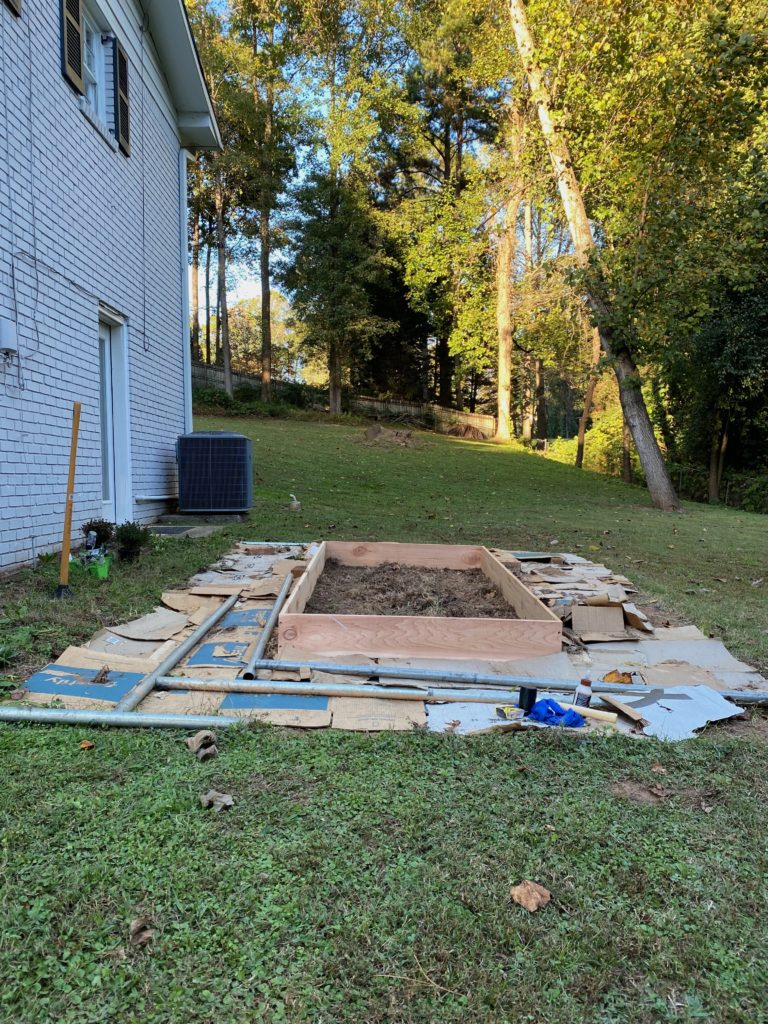
Following the tutorial was straightforward, and you can get all supplies from your local hardware store. I chose to build a 4′ by 8′ bed using three 2″ by 8″ cedar boards. The cedar is naturally rot-resistant, and it does not contain chemical treatments that might be harmful when growing food.

For a special finishing touch, I opted to add plugs to cover the screw holes. This was surprisingly fun and really easy to do – plus it looks great! All you need is a countersink drill bit, plugs, and exterior wood glue. While you can certainly make your own plugs, I purchased ready-made plugs from my local hardware store since I don’t have a drill press. I went with a 1/2 inch size for the countersink drill bit and plugs for this project.
First, I drilled a pilot hole for the screw. Next, I used the countersink drill bit to create a wider, more shallow hole on top of the pilot hole. Then, I drilled in the screw, while allowed the screw head to be recessed into the board. Lastly, I applied wood glue to a plug and then hammered the plug into the hole using a rubber mallet.

After building the bed, I moved it into position and did my best to level it. Next up, I’ll be adding top soil and organic matter, and then finally planting some fall veggies (a bit late in the season, but I’m still excited for my very first veggie garden!). Once the bed is filled and planted, I’ll be working on edging the pathways and adding gravel.
If you’d like to see more behind the scenes, join me on Instagram. You can also subscribe to the blog to receive email updates on the ORC and beyond.
Want even more design goodness? You can spread some love to the Fall 2021 ORC featured designers and fellow guest designers here.
